
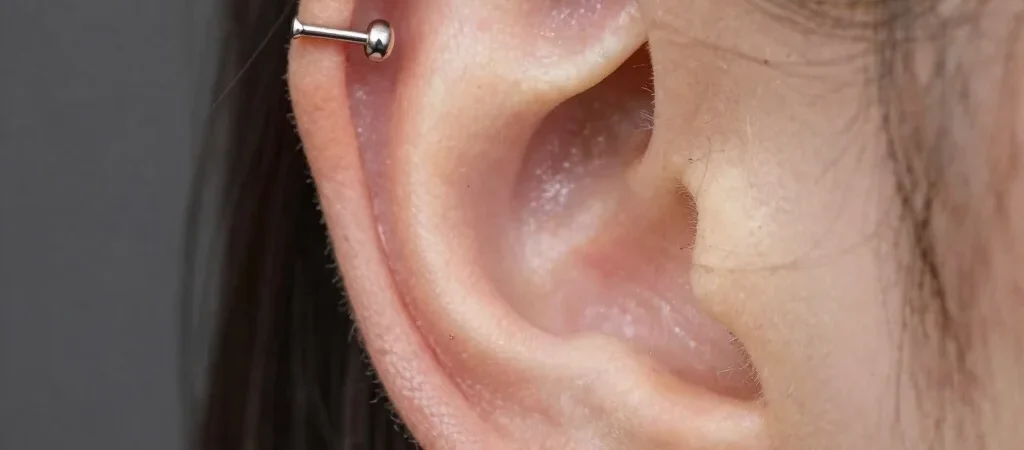
The conch piercing sits at the focal center of the ear cavity, making it one of the most striking anchors for any curated ear stack. Deciding whether to start with a low-profile flat-back stud or aim for a dramatic fitted hoop requires evaluating both practical anatomical depth and tissue recovery physics.
Initial Healing with Flat-Back Labrets
Every reputable piercer performs an initial conch piercing using a straight implant-grade titanium labret post. Curved jewelry or hoops put uneven rotational pressure on a straight channel, creating localized movement that triggers severe irritation bumps and prolonged healing.
A flat-back stud sits flush against the rear shell of your ear, keeping the front decorative end stable while shielding the healing site from stray strands of hair and phone pressure.
Transitioning to a Fitted Conch Hoop
Switching to a hoop is a reward reserved for fully healed cartilage, typically eight to twelve months after the initial puncture. The inner diameter of your ring must be precisely measured by a piercer using a millimeter caliper to match the exact distance from the channel to the outer ear rim.
A hoop that is too snug pinches the cartilage rim and causes tissue necrosis, while an oversized ring easily snags during daily movement. Choose seamless clicker rings made from solid gold or high-polish titanium for maximum comfort.
Integrating the Conch into Your Overall Ear Stack
A well-placed conch piece bridges the gap between lower lobe clusters and upper helix rims. Pair a minimalist bezel-set gemstone labret in the conch with simple helix studs to keep your overall ear design balanced and elegant.